

What a Star Gem is
A Star Gem is a special gem that clears an entire row and column when matched. It looks like a multi-pointed star and is created by matching five gems in an L or T shape.
- All gems in its row disappear.
- All gems in its column disappear.
- Any other special gems caught in that cross also trigger, creating chain reactions.
That last point is where the value sits. A Star Gem on its own clears a cross; a Star Gem that catches a Flame or a Multiplier on the way through sets off something much larger.
How to create one
Creating a Star Gem needs a specific five-gem pattern, and the shape matters more than the count.
The L or T shape
- 1
Identify a cluster where you can match five gems of the same colour.
- 2
Arrange them in an L shape, meaning three in a row with two extending down from one end.
- 3
Or a T shape, meaning three in a row with two extending from the middle.
- 4
Swap a gem into position to complete the five-gem pattern.
For example: three red gems horizontally with two more red gems vertically below the leftmost one gives you an L and a Star Gem. Three blue horizontally with one blue above and one below the centre gives you a T and the same result. Matching five in a straight line does not create a Star Gem, it creates a Hypercube.
Star Gem versus the other specials
Knowing how the three compare tells you when it is worth spending an extra move to reach for a Star.
- Flame Gem: Made by matching four gems. Clears a 3x3 area. Easier to create and better for quick localised clears.
- Star Gem: Made by matching five in an L or T. Clears a full row and column. More setup, much more board.
- Hypercube: Made by matching five in a straight line. When swapped, clears every gem of one colour from the board.
Hypercube wins for wiping out a colour entirely. Star Gem wins for targeted board control and for opening up specific areas to cascade into. Flame is the one you make by accident and should still use well.
Using Star Gems effectively
Creating one is half the job. The scoring comes from what you set it off against.
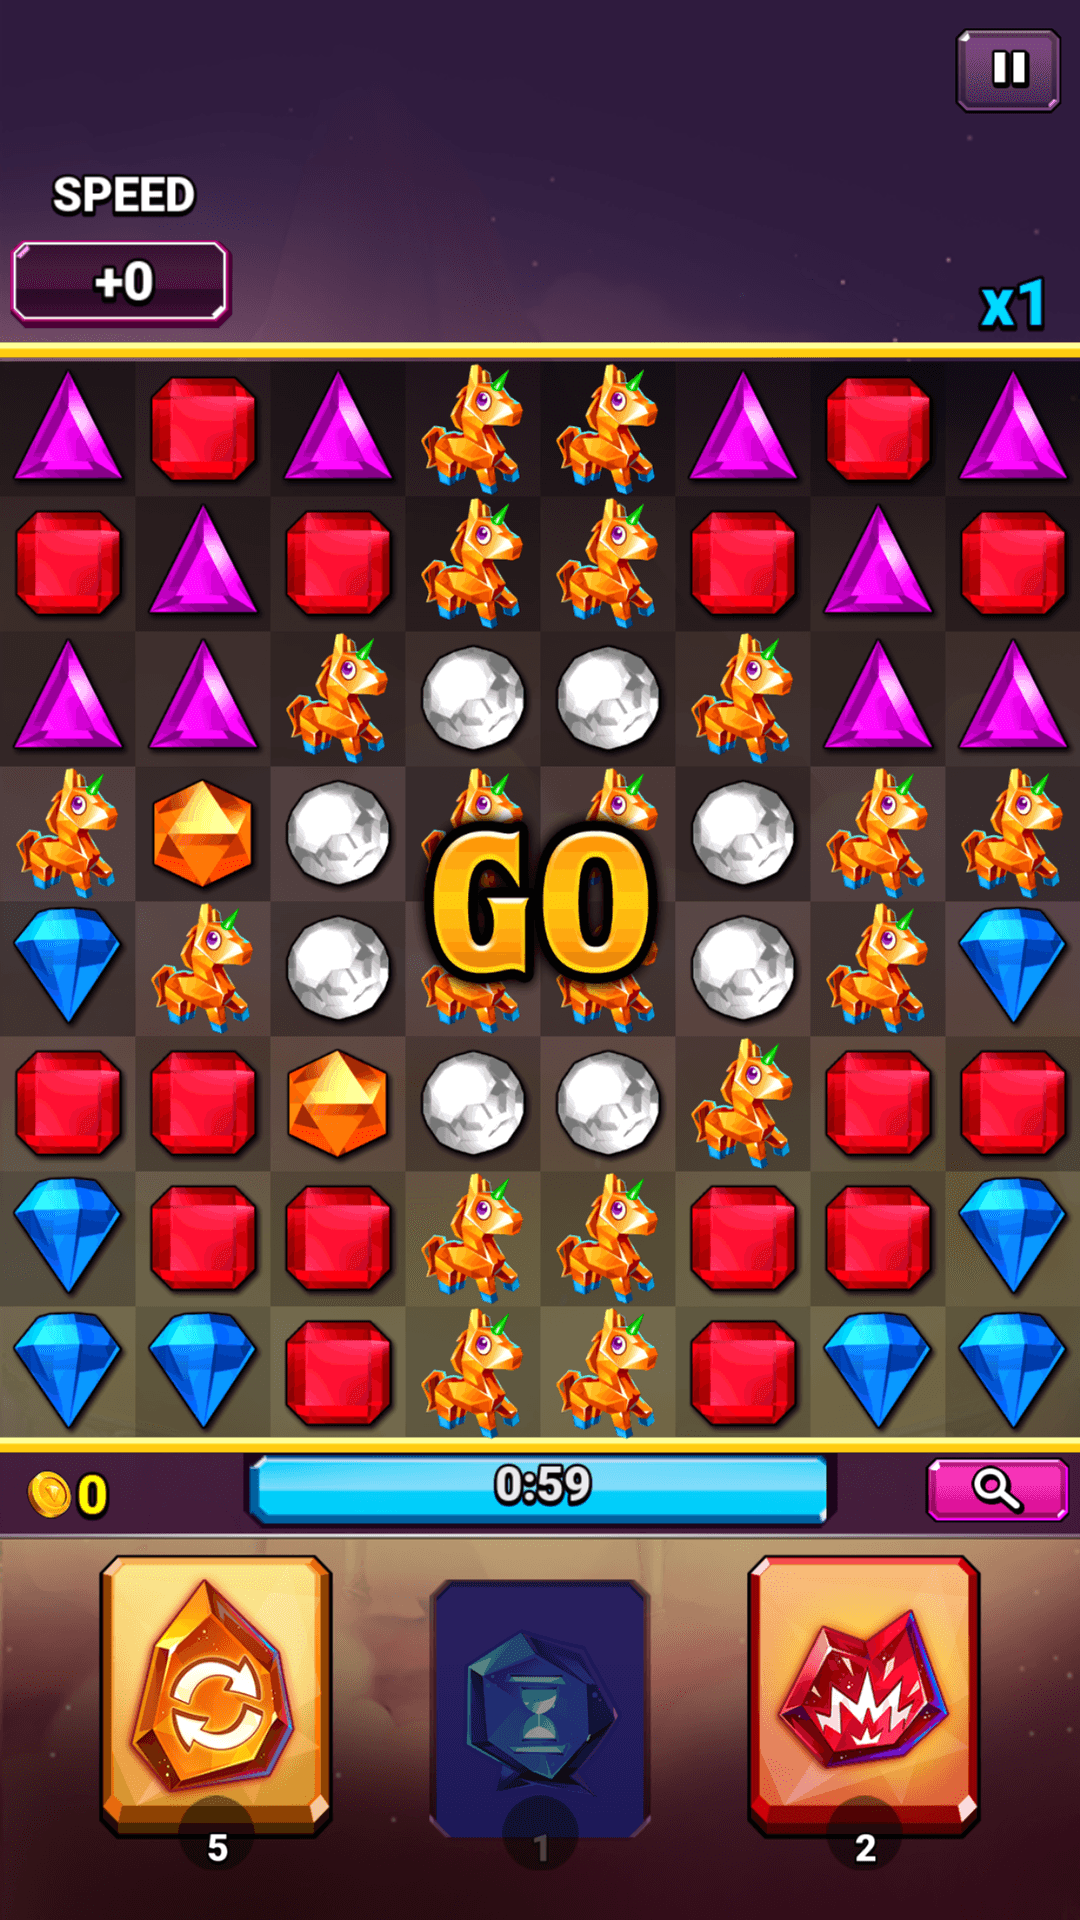
Chain them with other specials
- Star plus Flame: Match the Star so its cross triggers a Flame Gem, adding a 3x3 explosion on top of the row and column clear.
- Star plus Hypercube: Swap a Hypercube into a Star Gem to clear all of one colour and detonate the cross, often taking most of the board.
- Star plus Multiplier: Activate a Star while a Multiplier is live so the whole cross clear is multiplied.
These combinations are how runs get past 100,000 points rather than stalling below it.
Use them to trigger Blazing Speed
Because Star Gems clear so much board, they generate follow-up matches. That helps you keep the rapid match chain alive for the Speed Bonus and fills the Ignition Meter faster.
If you are close to triggering Blazing Speed, firing a Star Gem at the right moment can be what pushes you over the line into the ten-second window.
Star Gems, Rare Gems and Boosts
One Rare Gem is built entirely around Star Gems. Moonstone starts the game with three Star Gems already on the board, which lets you set up big combos immediately instead of spending early moves building specials.
That makes it especially strong in contests where a fast start decides where you place, and it is a high priority to farm through the Daily Spin, Blitz Quest and events. No Boost creates Star Gems directly, but Multiplier amplifies the points from a cross clear, Extra Time gives you longer to set one up, and Scrambler can reset a dead board into one with Star potential.
Common mistakes
Even experienced players waste Star Gems, usually in one of three ways.
Firing them for small clears
Do not match a Star Gem just to clear a few gems with no follow-up. Wait until you can hit other specials, trigger cascades, or do it with a multiplier running.
Missing the setup
Sometimes it is worth an extra move to turn a Flame setup into a Star setup. The two extra gems cleared in a cross make a real difference to what cascades afterwards.
Forgetting the Last Hurrah
At the end of the 60 seconds the Last Hurrah detonates every special gem left on the board. A Star Gem made in the closing seconds is often worth more left sitting there than used immediately.
Quick tips
Four habits that turn Star Gems from occasional luck into a reliable part of your scoring.
- Scan for L and T patterns whenever you see four of a colour clustered together.
- Prioritise creating them when a Multiplier is already active.
- Use them to break open crowded boards and create space for new matches.
- Save the biggest setups for contests or personal best attempts.